The design and production of a high quality diy tantra chair/sofa depends on the following criteria:
- Design and Planning:
- Determine the purpose and function of the furniture. It is important to know its intended usage as this will determine material selection and durability considerations.
- Consider the dimensions, style, and aesthetic you want to achieve.
- Sketch out a design or find existing plans to follow.
- Take accurate measurements and create a materials list.
- Skill Level and Tools:
- Assess your own skill level and choose a project that matches your abilities.
- Ensure you have the necessary tools for the project.
- Familiarize yourself with the tools and their proper usage to work safely.
- Material Selection:
- Choose appropriate materials based on the design and function of the furniture.
- Consider durability, strength, and aesthetic appeal.
- Factor in cost and availability of materials.
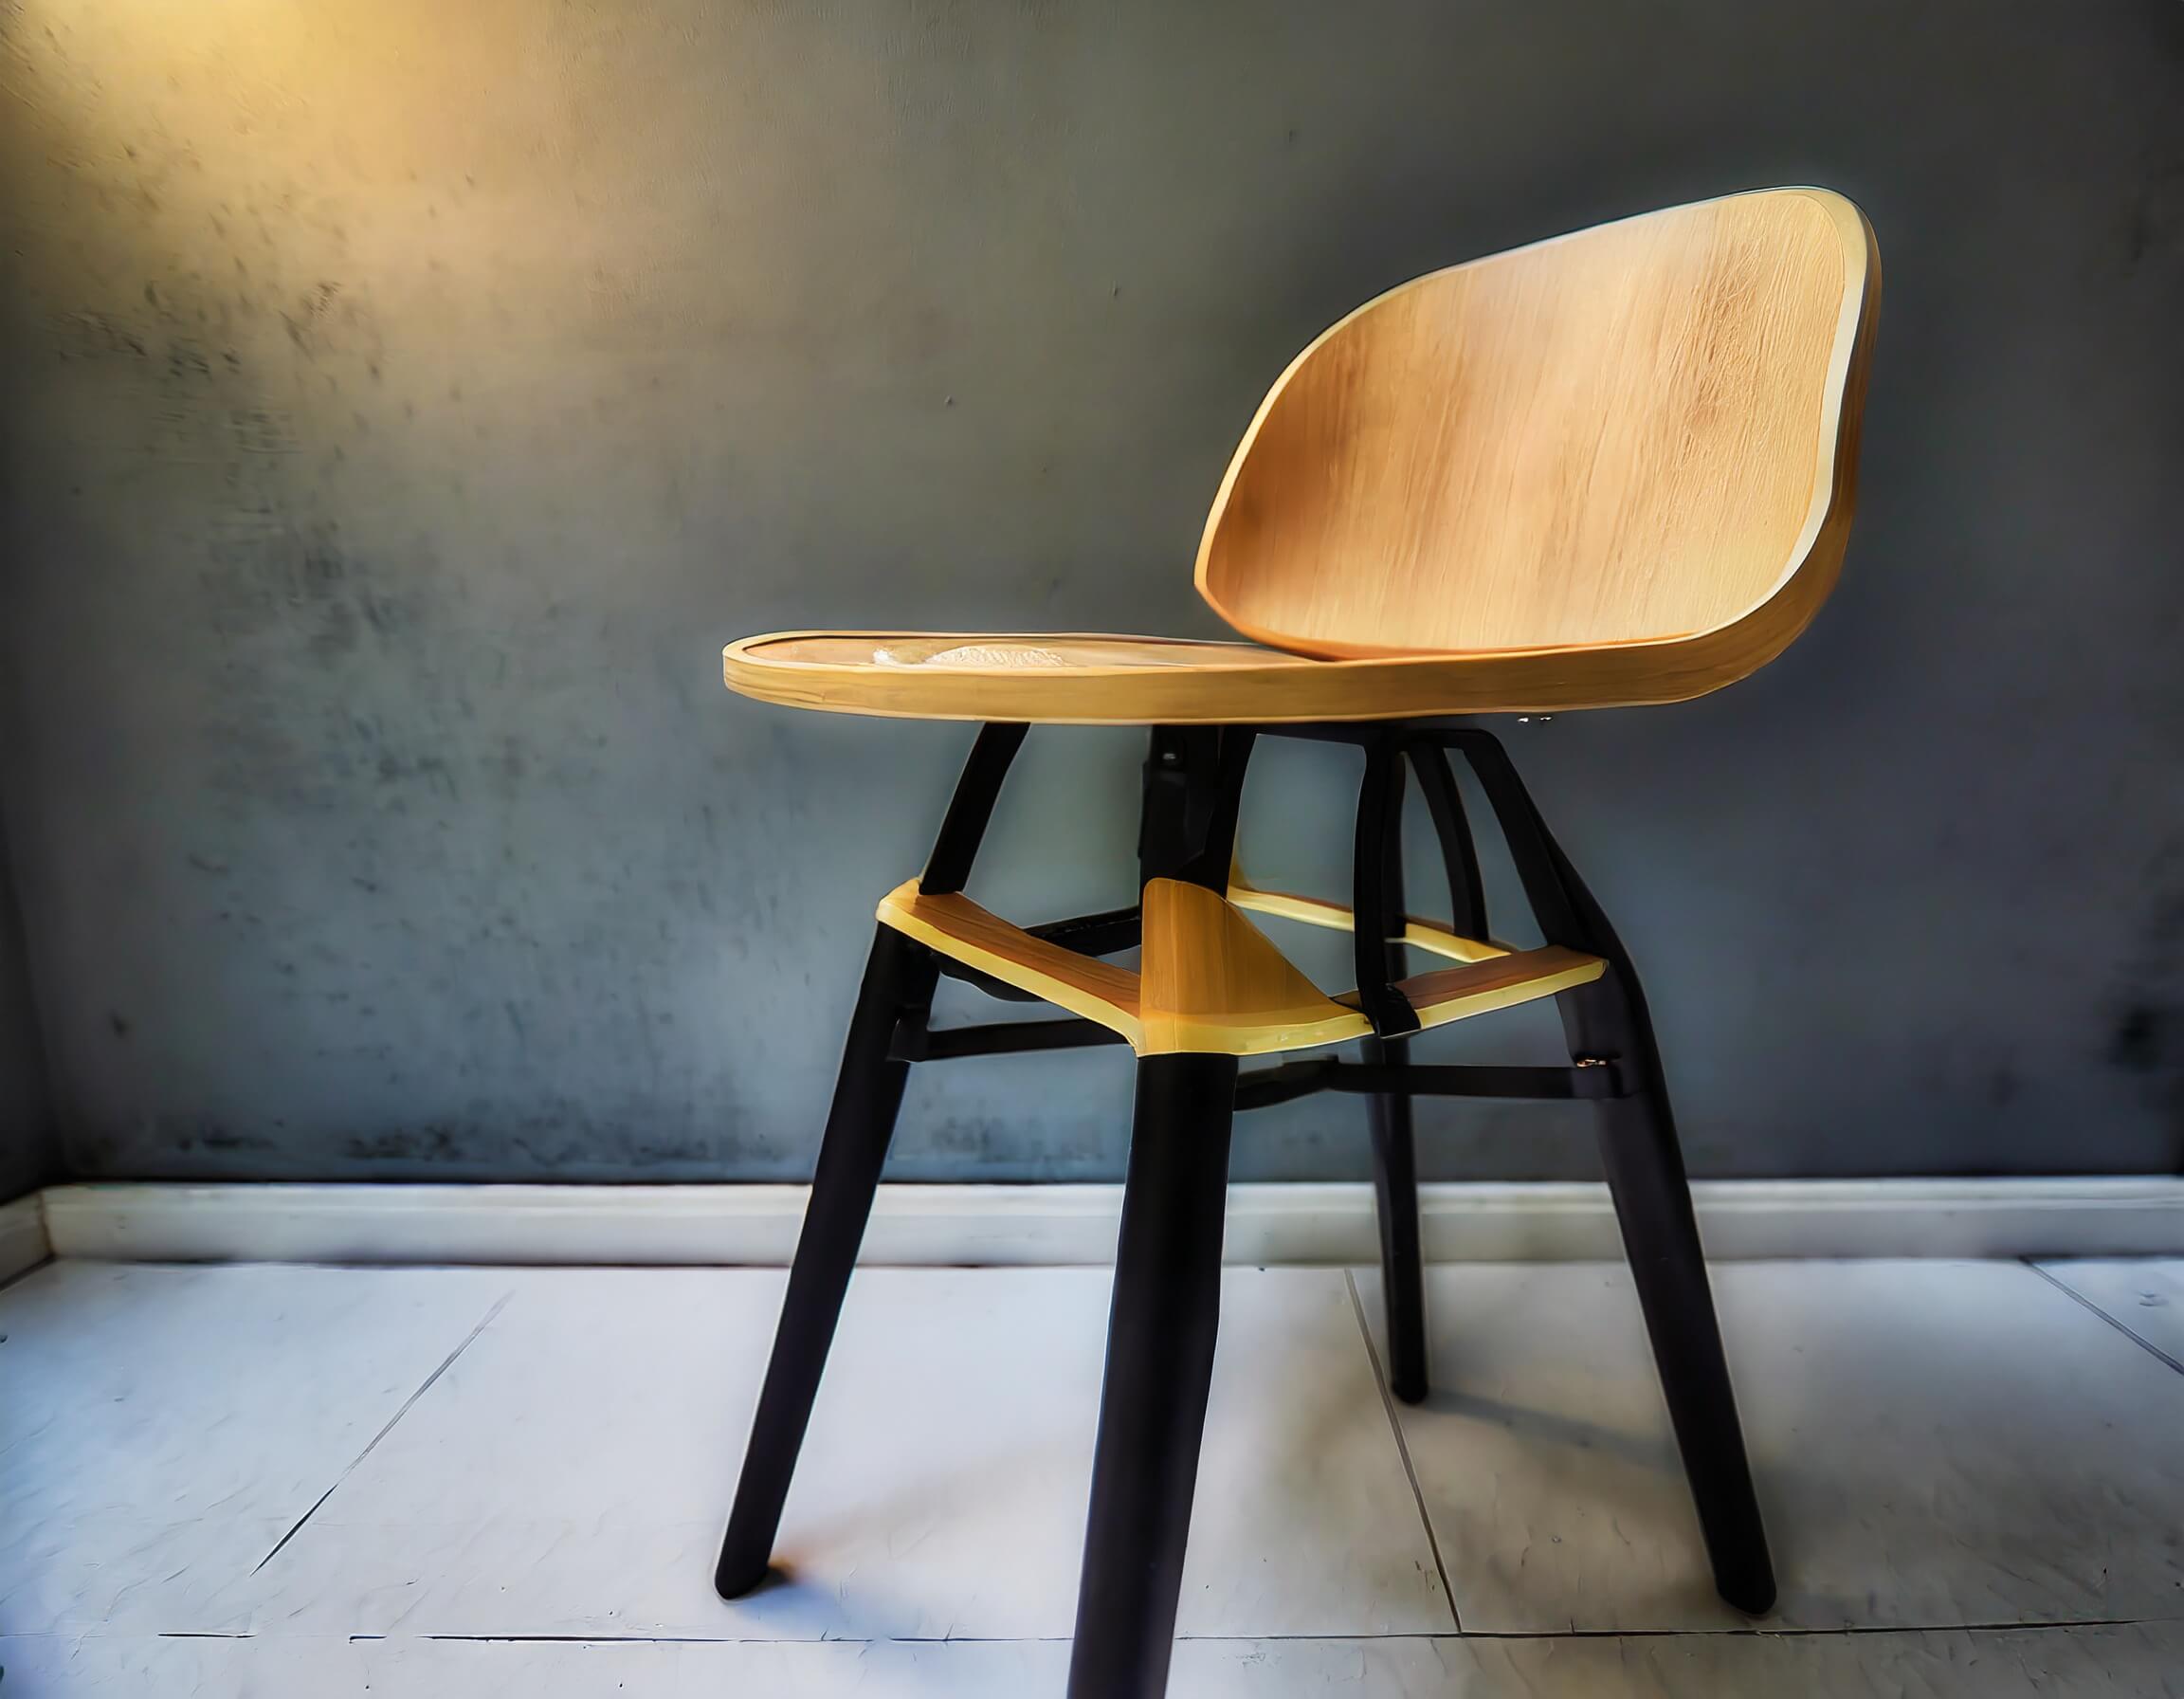
- Woods selection for the base
- Safety:
- Prioritize safety by wearing protective gear like goggles, gloves, and a dust mask.
- Work in a well-ventilated area with proper lighting.
- Handle chemicals and inflammable solutions with care.
- Follow safety guidelines for using power tools and handling sharp objects.
- Construction Techniques:
- Research and understand different joinery techniques suitable for your project.
- Use appropriate fasteners (screws, nails, dowels, etc.) and adhesives.
- Ensure proper alignment, stability, and weight distribution.
- Finishing and Surface Treatment:
- Determine the desired finish (paint, stain, varnish, etc.).
- Prepare the surface by sanding and smoothing it.
- Apply the chosen finish following the manufacturer’s instructions.
- Assembly and Installation:
- Follow the construction plan carefully, step by step.
- Take your time to ensure accuracy and avoid mistakes.
- Use clamps or helpers when needed to hold pieces together during assembly.
- Ergonomics and Functionality:
- Consider ergonomics and user comfort when determining dimensions and proportions. Bigger people need to provide for larger chair.
- Test the functionality of the furniture before considering the project complete.
- Environmental Impact:
- Opt for sustainable and eco-friendly materials whenever possible.
- Minimize waste by planning cuts and utilizing leftover materials for other projects or recycling.
- Indoor or outdoor
- if outdoor, it will have more durable and waterproof wood/wood plastic composite.
- The furniture must be able to face various weather conditions, even if it is in a terrace.
- Documentation and Learning:
- Document your process through photos, notes, or videos.
- Learn from your mistakes and successes for future projects.
- Share your experience and knowledge with others through blogs or social media.
Other considerations while embarking on a DIY Tantra Chaise project:
-
- Chair Dimensions
- Targeted users
- Base Material to be used
- Finish Fabrics
- Color
- Structural design
")
LAB University of Applied Sciences Institute of Design Degree Programme in Design Interior Architecture and Furniture Design Bachelor Thesis / 69 pages Spring 2022 / Carolina Andrea Mac-Iver Gonzalez
Step by step guide to build your do it yourself Tantric Chair/Tantra Chaise
Materials and Tools You’ll Need:
- Your tantra chair plan (design/blueprint/drawings if any)
- Wood (plywood, hardwood, or a combination)
- Select a high-quality hardwood for the frame of the Tantric chaise. Hardwoods are known for their durability and strength, which are essential for furniture pieces that need to support weight and endure regular use.
- Screws or nails
- Wood glue
- Clamp
- Saw (circular saw, jigsaw, or handsaw)
- Drill with various drill bits
- Sandpaper (coarse and fine grit)
- Measuring tape
- Pencil or marker
- Safety gear (goggles, gloves, ear protection)
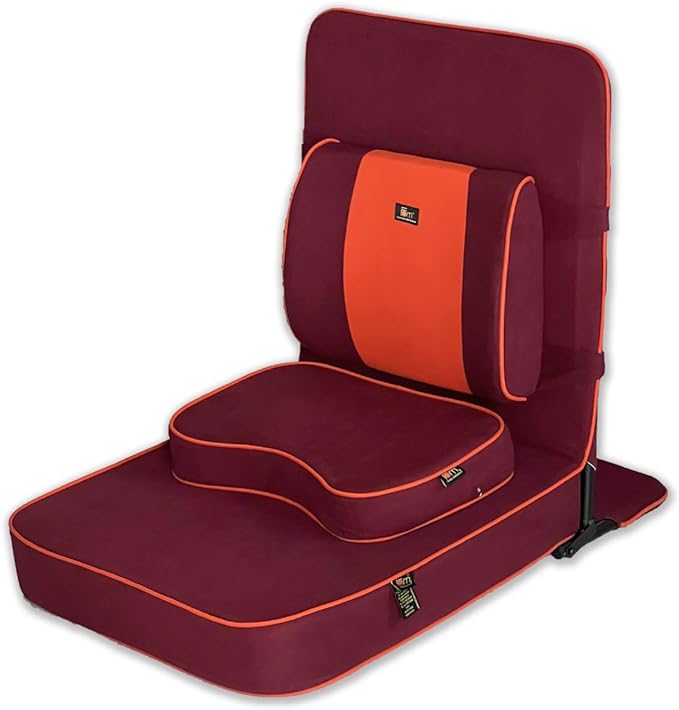
- Upholstery materials (foam, fabric, staples)
- Optional: Stain, paint, or finish
- Cushion (optional)
Step-by-Step Guide:
- Design and Measurements: Start by drawing your tantra chair plan. Research different designs online to get an idea of what you want. Decide on the dimensions and angles that will provide comfort and stability. Make sure to incorporate ergonomic considerations into your design.
- Gather Materials: Purchase the necessary wood, screws, wood glue, and any other materials you’ll need according to your design. Consider the weight capacity and durability of the wood you choose.
- Cutting Wood: Using your chosen saw, cut the wood into the required pieces according to your design. You might need a backrest, a seat, armrests, legs, and additional supports. Be precise in your measurements and cuts.
- Assembly: Assemble the main frame of the chair. Attach the legs to the seat securely using screws and wood glue. Ensure everything is squared up and level. Add any additional supports or crossbars for stability.
- Backrest: Attach the backrest to the main frame. Depending on your design, this might require angling the backrest for comfort.
- Sanding: Sand all the edges and surfaces of the chair to smooth out any rough spots, splinters, or sharp edges. Start with coarse sandpaper and move to finer grits for a polished finish.
- Start by sanding the wood surfaces to create a smooth and even finish. Begin with coarse-grit sandpaper (around 80-100 grit) to remove any rough spots, imperfections, or splinters.
- Progressively move to finer grit sandpaper (around 150-220 grit) to achieve a smooth and polished surface. This step will also help the wood absorb stains and finishes more evenly.
- After sanding, wipe down the wood with a clean cloth to remove any dust.
- Finishing: Apply stain, paint, or finish to the wood to protect it and enhance its appearance. Follow the manufacturer’s instructions for the chosen finish and allow it to dry completely.
- If you want to add color to the wood, apply wood stain using a brush or applicator. Follow the manufacturer’s instructions for application and drying times.
- Apply the stain in the direction of the wood grain to ensure an even and consistent color.
- After applying the stain, wipe off any excess with a clean cloth. Allow the stain to dry completely before moving on to the next step.
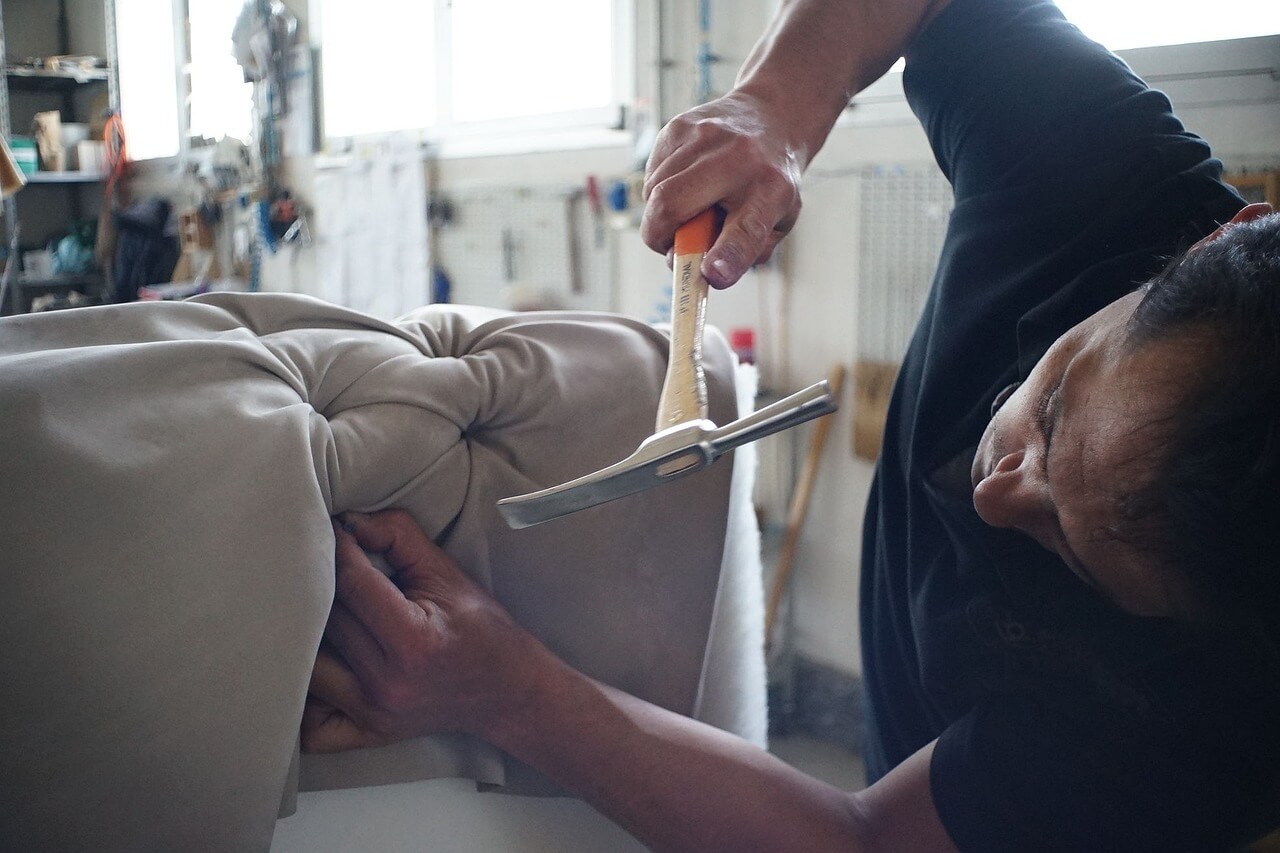
- Upholstery: Cut and shape foam to fit the seat and backrest. Cover the foam with fabric of your choice and secure it to the wood using staples. Be sure to stretch the fabric tight for a smooth finish.
- If desired, add upholstery foam to the seat and backrest for comfort. Cut the foam to size and attach it using spray adhesive.
- Cut your upholstery fabric, leaving a few inches of extra fabric on each side to wrap around the foam and plywood.
- Use a staple gun to secure the fabric to the plywood on the seat and backrest. Start by stapling the center of each side and then work your way out, pulling the fabric taut as you go.
- Protective Finish:
- To enhance durability and protect the wood, apply a clear coat or polyurethane finish. These finishes create a barrier that shields the wood from moisture, scratches, and wear.
- Use a brush or applicator to apply the finish evenly, following the wood grain. Apply multiple thin coats, allowing each coat to dry thoroughly before applying the next.
- Sand lightly between coats with fine-grit sandpaper (220-320 grit) to achieve a smooth finish.
- Allow the final coat of finish to dry for the recommended time specified by the manufacturer.
- Testing and Adjustments: Before using the chair, carefully test its stability and comfort. Make any necessary adjustments to angles or supports if the chair doesn’t provide the desired experience.
- Safety Precautions: As with any DIY project, prioritize safety. Double-check all connections and ensure that the chair is sturdy and well-built.
- Maintenance: Regular maintenance is essential to preserve the durability and appearance of your Tantra chair. Avoid exposing the chair to extreme humidity, direct sunlight, or heavy moisture. Clean the wood regularly with a damp cloth and mild soap, and avoid using harsh cleaning agents that could damage the finish. After many years of use, it is necessary to review loose components and re-apply wood paint or varnish.
- Indoor vs outdoor use: The material used in making the furniture will determine whether it can be used outdoor or not. Weather-proof materials are suitable for outdoor furniture making. Untreated wood when exposed to outdoor weather conditions can make it lose its safety and stability, thus making it a dangerous experiment.


 (1)")
")


