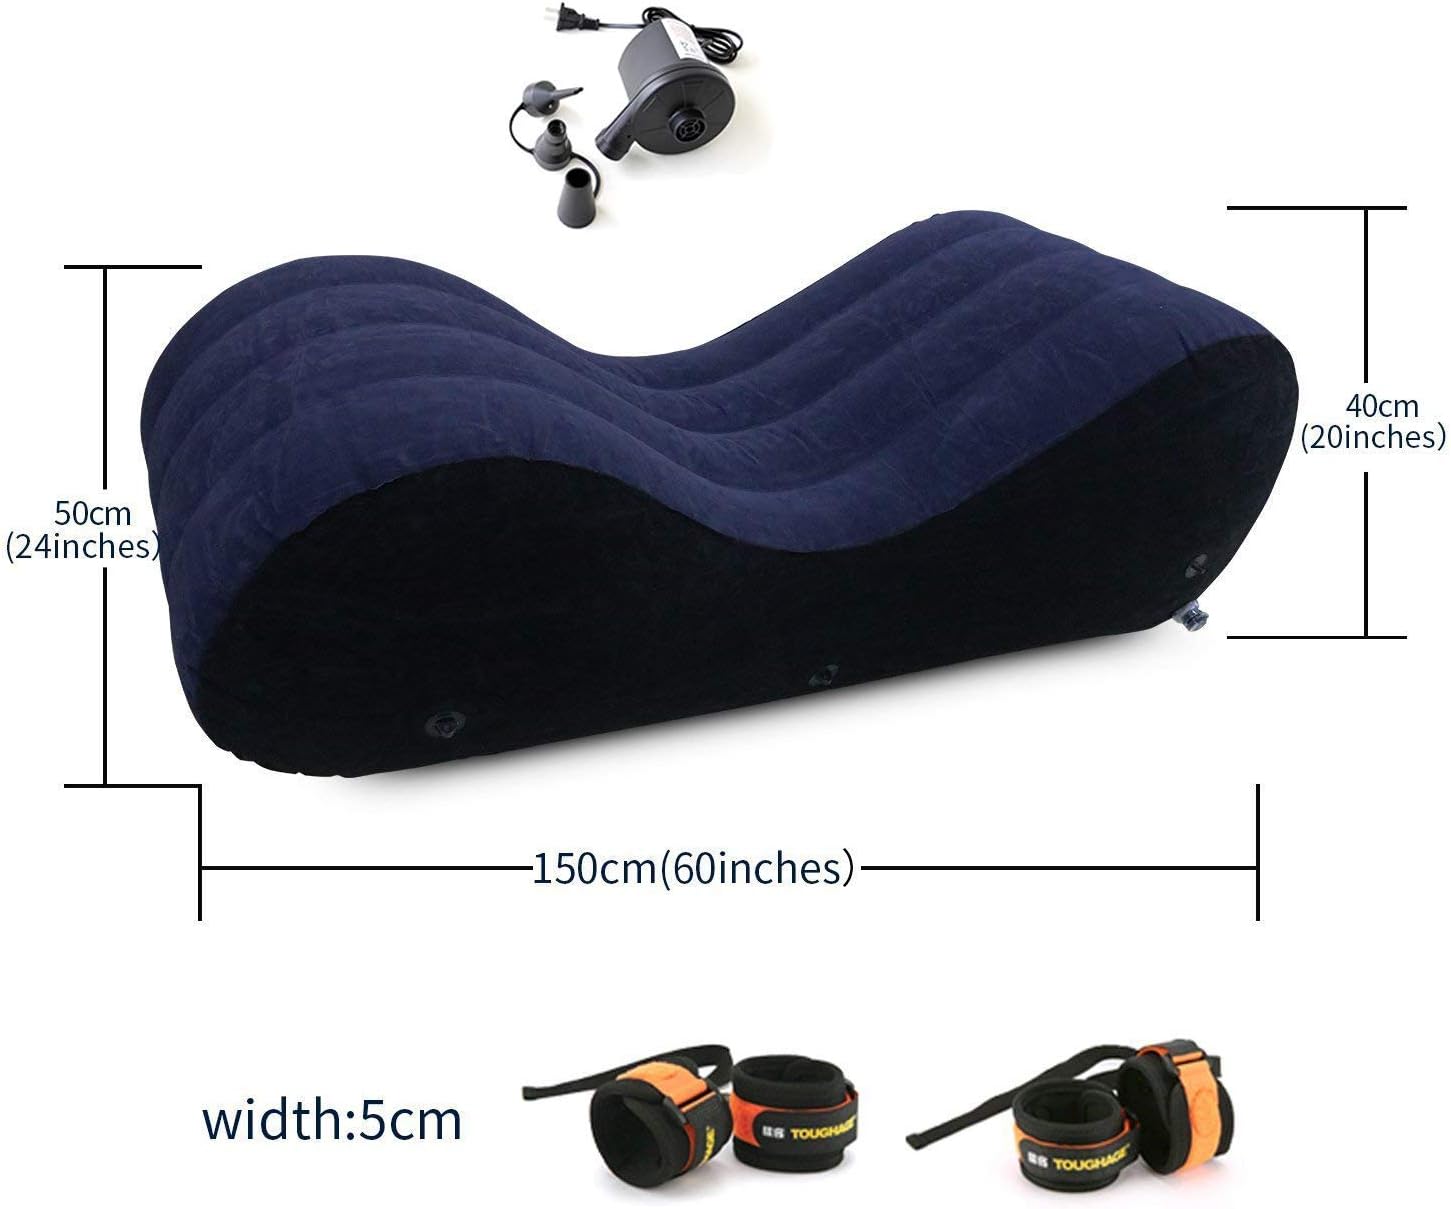
Creating a design plan for a tantra chaise involves a detailed focus on ergonomics, visual appeal, and practicality. Below is a structured guide to assist you in developing a blueprint for your tantra chair:
1. Research and Inspiration: Start by researching various tantra chair designs for inspiration. Look at images, blueprints, and existing plans to understand different styles and features.
2. Determine Dimensions: Decide on the overall size of the chair. Consider the height, width, and depth of the seat, backrest, and armrests. Keep in mind the comfort of the user and the available space.
3. Sketch Initial Ideas: Using pencil and paper or a digital drawing tool, create rough sketches of your design ideas. Focus on the basic shapes and proportions of the chair. Experiment with different backrest angles and armrest positions.
4. Ergonomics and Comfort: Pay attention to ergonomics to ensure the chair is comfortable for its intended purpose. Consider the natural curves of the human body and how the chair’s contours will support those curves.
5. Create a Detailed Blueprint: Once you have a rough sketch that you’re satisfied with, create a detailed blueprint. This should include accurate measurements, angles, and specifications for each component of the chair.
6. Break Down the Chair: Divide the chair into its main components: seat, backrest, armrests, legs, and any additional supports. Create separate diagrams for each component, showing the dimensions and angles.
7. Front, Side, and Top Views: For each component, create front, side, and top views. This will give you a comprehensive understanding of how each piece fits together and how the chair will look from different angles.
8. Material Considerations: Decide on the type of wood you’ll use and the thickness of the material. Incorporate these details into your blueprint, as they will impact the overall dimensions and construction.
9. Angles and Joints: Pay special attention to the angles at which different components join together. Use protractors or drafting tools to ensure accurate angles. Decide whether you’ll use butt joints, miter joints, or other types of joinery.
10. Label and Annotate: Label each component and annotate your blueprint with notes about materials, measurements, and assembly instructions. This will make it easier to follow when you start building.
11. Test Your Design: Before finalizing your drawing plan, it’s a good idea to build a physical prototype using cardboard or cheap materials. This will help you visualize the chair better and identify any design flaws or adjustments needed.
12. Digital Tools (Optional): If you’re comfortable with digital design tools, you can create a detailed drawing plan using software like AutoCAD, SketchUp, or even graphic design tools like Adobe Illustrator.
13. Review and Revise: Take time to review your drawing plan and make any necessary revisions. Check for accuracy, proportions, and clarity of instructions.


